Make mouthwatering soy-marinated Japanese ramen eggs, known as Ajitama or Nitamago with perfectly soft yolks.
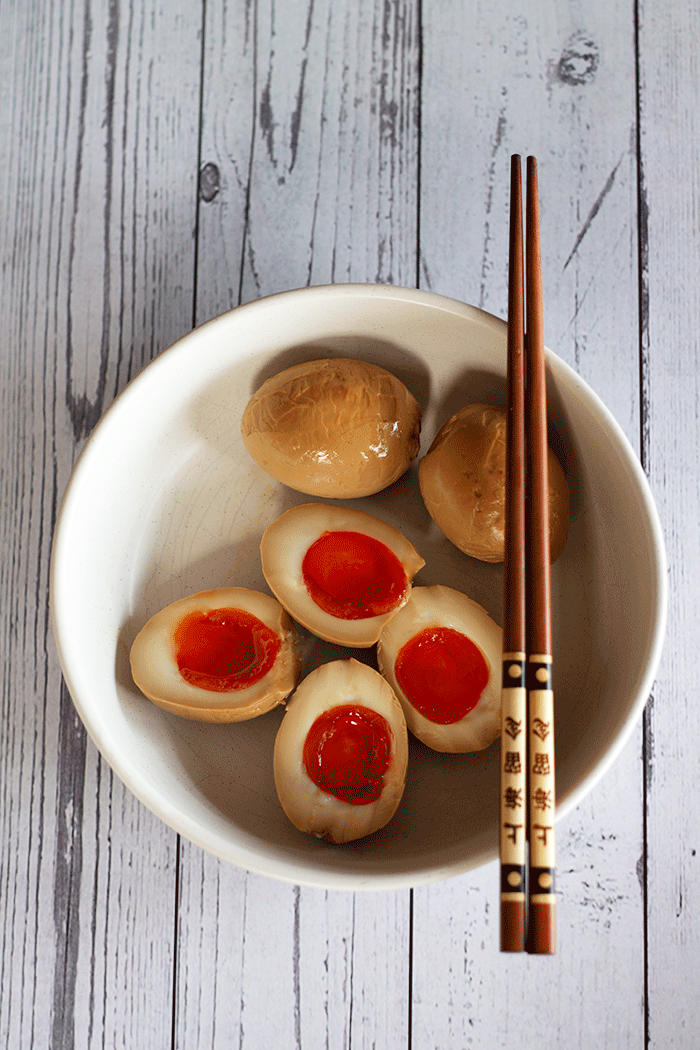
The process for making Japanese ramen eggs couldn't be simpler. It's really just a case of boiling your eggs, mixing together a few simple marinade ingredients, adding the peeled eggs to the marinade and popping them in the fridge for a few hours to let all the flavours infuse.
Traditionally enjoyed with ramen dishes like Spicy Chicken Miso Ramen or Beef Ramen, Ajitama or Nitamago are an excellent addition to other rice/noodle dishes like Japanese Golden Curry, and also make a great salty snack.
The post contains additional information and helpful tips to ensure the recipe turns out great the first time. Please use the link above to jump to the recipe card at the end if you are in a hurry!
Jump to:
3 reasons why you'll love this recipe:
- Learn how to cook ramen eggs to perfection with firm whites and soft yolks.
- Quick and easy, with just 15 minutes of prep and cooking time.
- Lots of serving options. Enjoy these salty little beauties with ramen, other rice and noodle dishes or on their own when you're craving a salty snack.
Ingredients
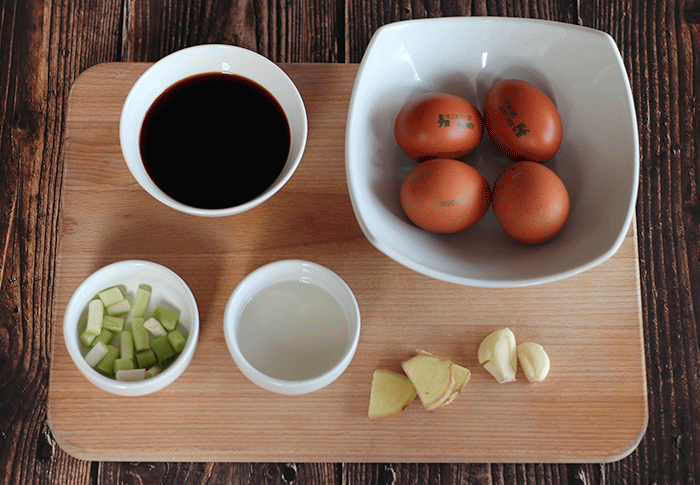
- Eggs: Ideally room temperature to prevent them from cracking and allow for more even cooking, but I often cook the eggs straight from the fridge with good results.
- Soy sauce: Use all-purpose or light soy sauce. Dark soy sauce will make the marinade too rich.
- Sake & mirin: Add a subtle sweetness to the marinade and the alcohol tenderises the eggs.
Optional ingredients:
- Ginger: Adds a little warmth and zing to the marinade.
- Spring onions/scallions: To add a mild onion flavour to the marinade.
Substitutions:
Note that the recipe has not been tested with all the substitutions and variations below, so the results cannot be guaranteed.
- Sake: Substitute with rice vinegar or dry white wine.
- Mirin: Substitute with Chinese cooking wine OR dry sherry + 1 tsp white sugar.
Variations:
- Firm yolks: Simmer for 10-12 minutes if you prefer hard-boiled eggs.
- Miso: Add miso paste to the marinade, to give the eggs a rich flavour with a hint of fermented umami.
- Spicy: Add a kick by including chilli paste or hot sauce in the marinade.
- Truffle: Add truffle oil or truffle salt to bring a luxurious and earthy note to the eggs.
- Wasabi: Mix some wasabi paste into the marinade for a tangy and spicy twist. Sesame: Add toasted sesame oil or sesame seeds to the marinade to add a nutty flavour.
- Marinade in other sauces: Like homemade or store-bought teriyaki sauce.
👩🍳 Recipe steps
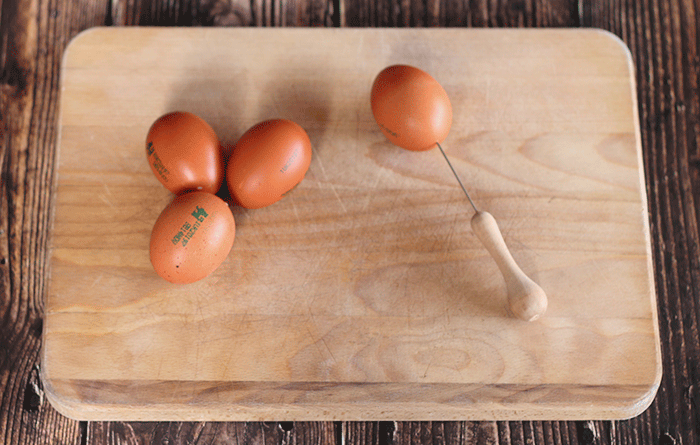
Step 1: Make a small hole in the bottom of each egg with a pin or similar small pointed object (I used my cake tester for this). This makes it easier to peel the shells off the eggs after they have boiled.
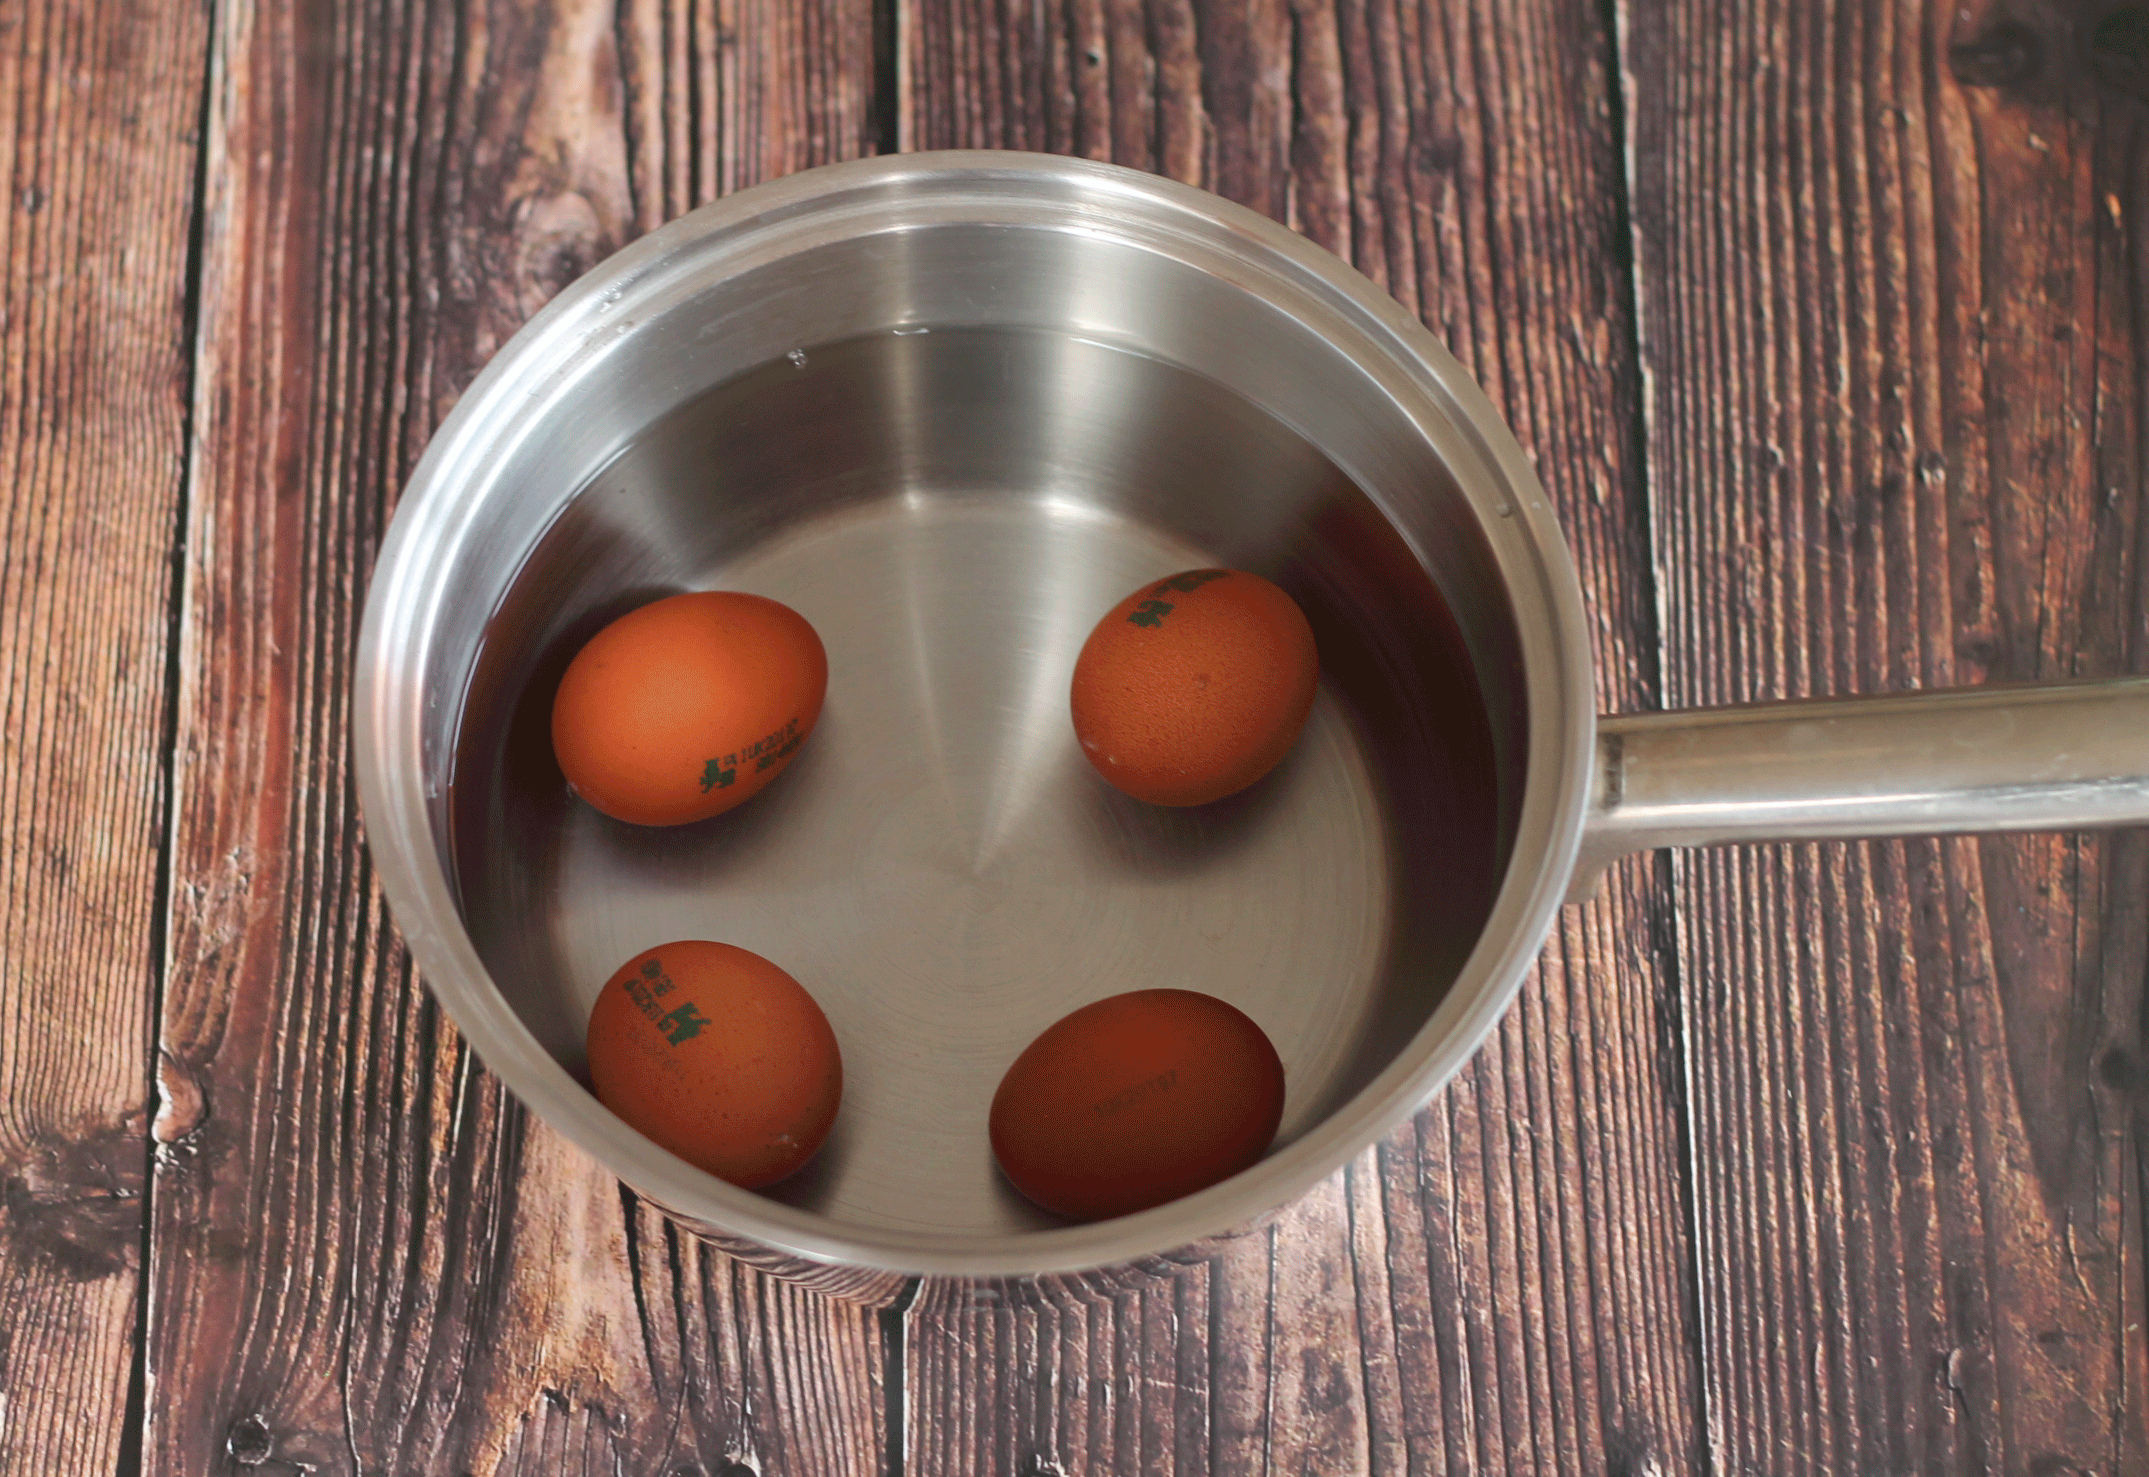
Step 2: Place the eggs in a pan of simmering water for 6 minutes
Step 3: Transfer the eggs to a bowl of cold water or an ice bath for at least 20 minutes to prevent them from cooking further while they cool.

Step 4: Place the marinade ingredients into a bowl or plastic container.
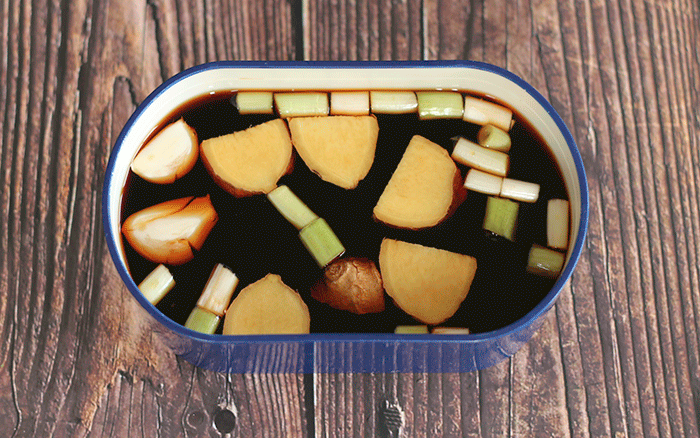
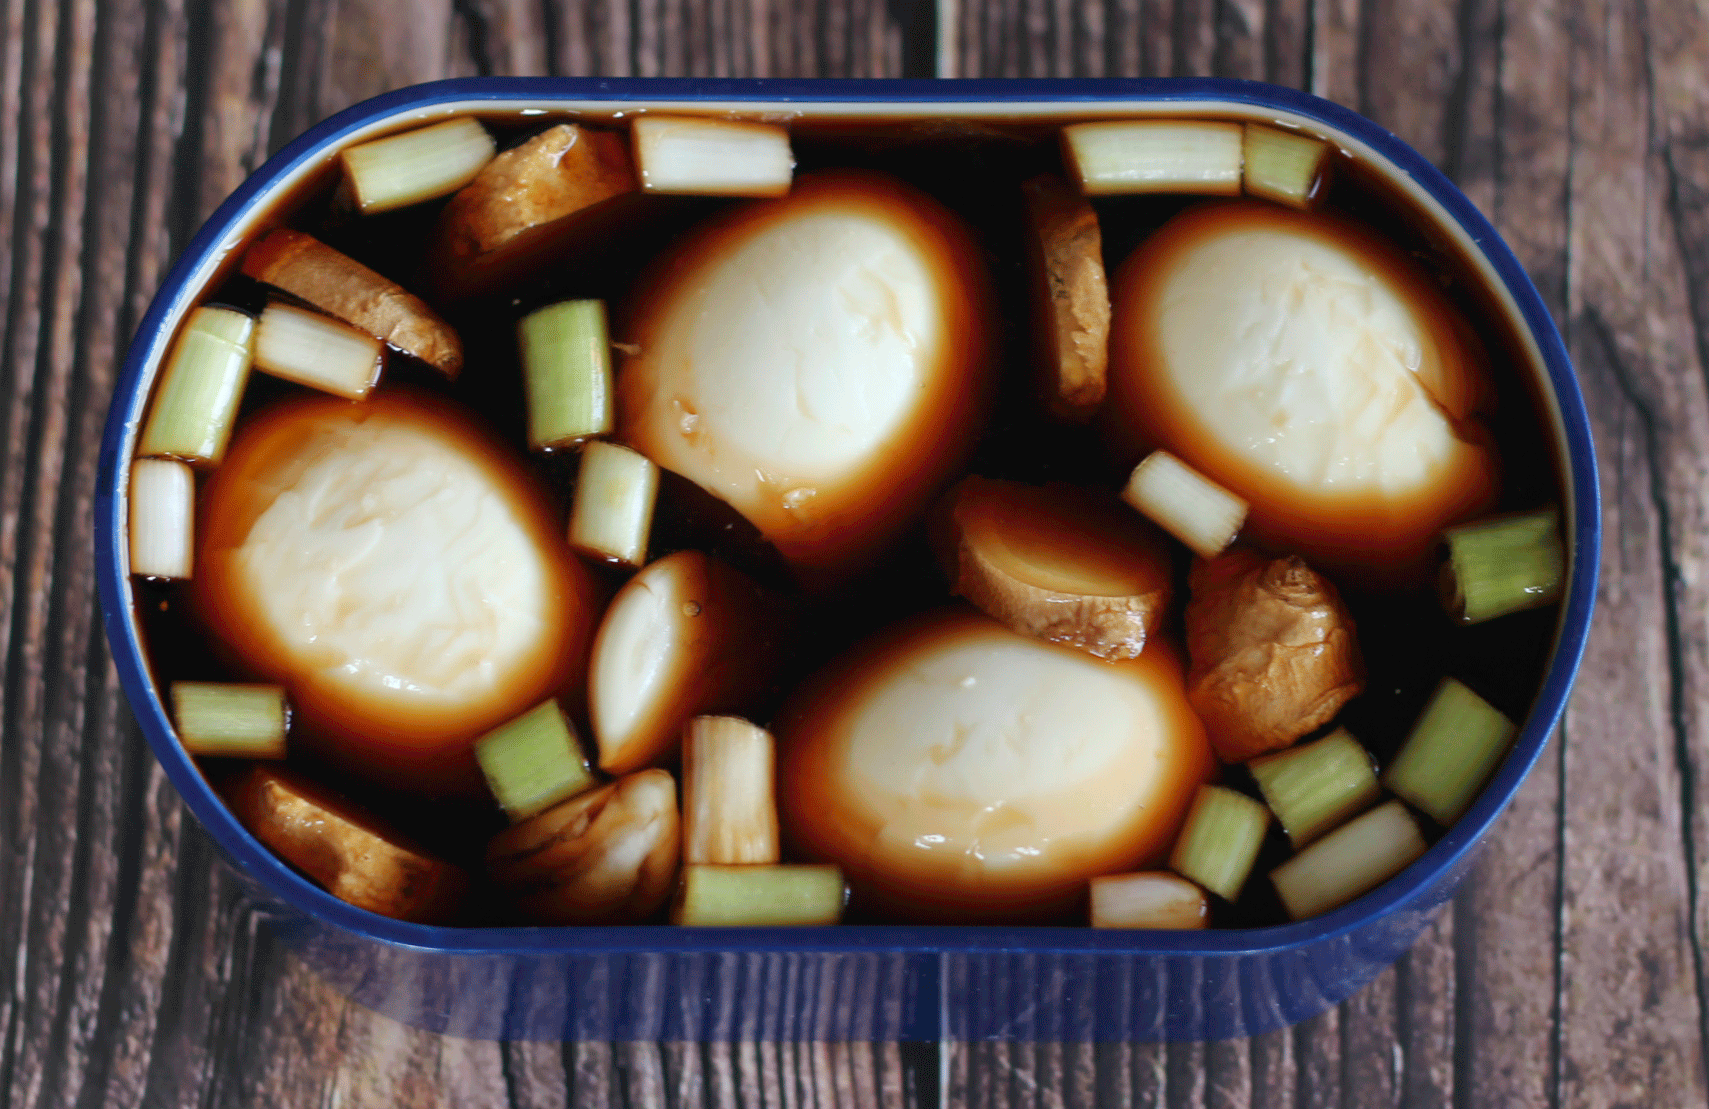
Step 5: When the eggs are cool you can peel them. Gently tap the bottom of the eggs on the countertop to break the shell and start peeling from the bottom where you pierced the hole in the shell. Add them to the marinade and refrigerate for at 2-12 hours, depending on whether you prefer a mild or intense flavour.
🍽️ Serving suggestions:
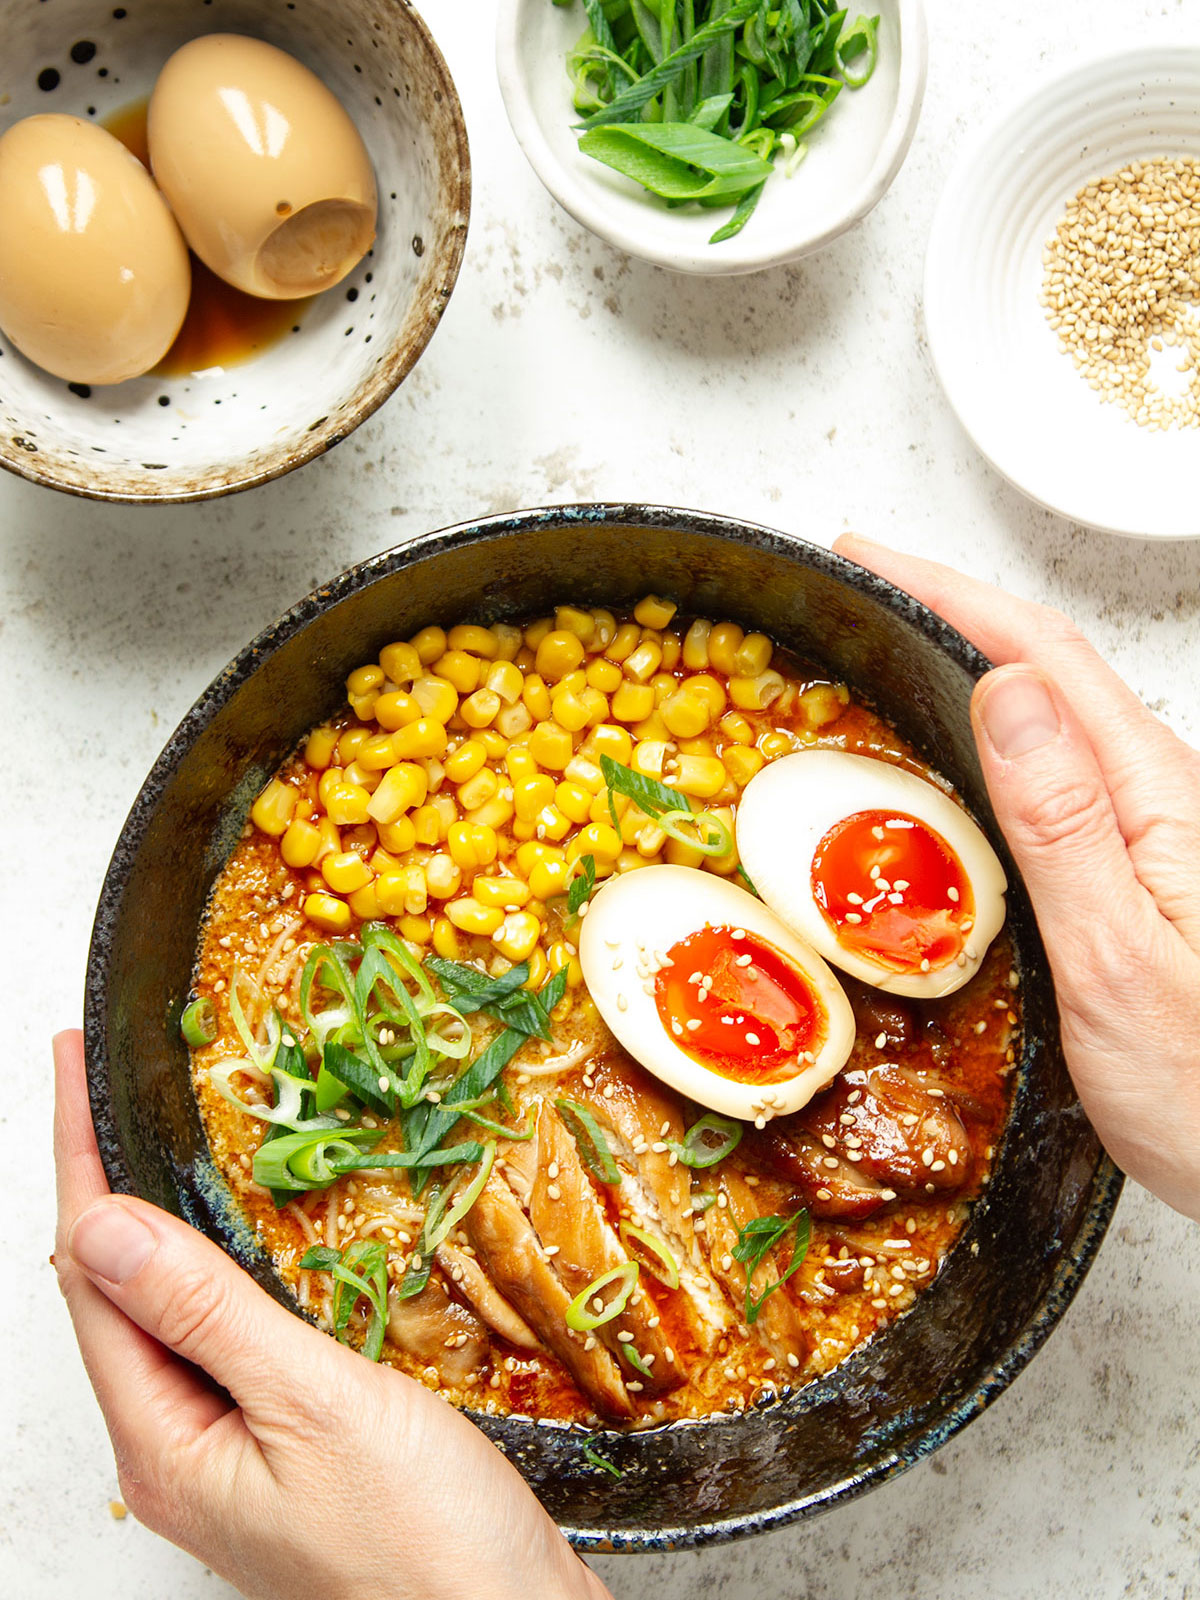
- Ramen and other noodle soups - a bowl of ramen is not complete without a soy marinated egg. For quick and easy ramen recipes try my Chicken Miso Ramen and Spicy Beef Ramen.
- Rice and noodles: Add them to rice and noodle bowls like this Japanese Mackerel Rice Bowl or Teriyaki Salmon Noodles Stir Fry.
- Katsu Curry: Salty ajitama or nitamago eggs complement rich and creamy and Katsu Curry Sauce.
- With salads: Soy-marinated eggs are a great way to add protein to salads like this Red Skin Potato Salad and Sautéed Mushroom Salad.
- A salty snack: Perfect for satisfying your salt cravings and healthier than crisps/chips.
Top tips:
- Pierce the shell before boiling - make a small hole in the bottom of each egg with a pin or similar object before boiling for easy peeling
- Ensure eggs are fully covered with water when cooking.
- Transfer the eggs to chilled water or an ice bath immediately after simmering to prevent them from overcooking.
- Don't over-marinade - the eggs will be too salty if you marinade them for longer than 12 hours.
🙋 Recipe FAQs
Soy-marinated eggs, such as Ajitama or Nitamago, can be stored in the refrigerator for 2-3 days. Allow the eggs are cool completely before you refrigerate them and keep them sealed in an airtight container or bag. It's important to note that the exact shelf life can vary depending on factors like the freshness of the eggs and the specific ingredients used in the marinade.
It's generally not necessary to reheat the eggs before adding them to your bowl of ramen. Ramen eggs are typically served at room temperature or slightly chilled and warmed by the hot ramen broth. If you prefer them warm, you can heat them in a warm water bath or by placing them in a steamer for a few minutes.
The recommended marinating time for Ajitama or Nitamago, is typically between 2 to 24 hours. Keep in mind that the exact marinating time can vary depending on personal preference and the intensity of flavours you desire. Marinating for a shorter duration will result in a milder tatse, while a longer marination time will yield a stronger flavour.
Ajitama and Nitamago are both types of soy-marinated eggs commonly found in Japanese ramen dishes. The main difference lies in the cooking style and texture. Ajitama eggs are soft-boiled, resulting in a creamy, custard-like yolk and a tender white. They are marinated in a soy-based sauce, giving them a sweet and savoury flavour. On the other hand, Nitamago eggs are medium-boiled, with a firmer yolk and a slightly less creamy texture.
Reusing ramen egg marinade is generally not recommended due to food safety concerns. The marinade has been in contact with soft-boiled eggs, which can potentially harbour bacteria. Reusing the marinade can lead to cross-contamination and increase the risk of foodborne illnesses.
More Japanese-inspired recipes
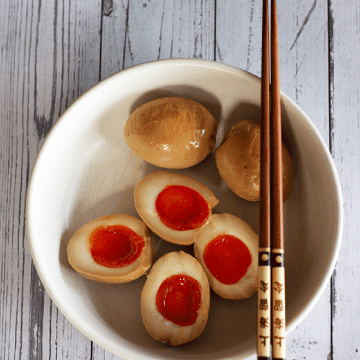
Ajitama or Nitamago (Soy Marinated Japanese Ramen Eggs)
Ingredients
- 4 eggs
- 1.5 cups (350 ml) water
- 1 cup (225 ml) soy sauce
- 2 tbsp (30 ml) mirin (Note 1)
- 2 tbsp sake (Note 2)
Optional
- 1.5 tbsp (20 g) ginger
- 2 spring onions
Instructions
- Pierce a small hole in the bottom of each egg with a pin or similar sharp pointed object.
- Place the eggs in a saucepan of boiling water for 6 minutes.
- Put the eggs into a sieve or colander when they're cooked and place under cold running water for 1 minute.
- Transfer the eggs to a bowl of cold water for at least 20 minutes.
- Meanwhile, add the remaining marinade ingredients to a suitable container or bowl.
- Once the eggs have cooled, gently peel them.
- Add the eggs to the marinade and refrigerate for 6 - 12 hours.
Notes
- Sake: Substitute with rice vinegar or dry white wine.
- Mirin: Substitute with Chinese cooking wine OR dry sherry + 1 tsp white sugar.
Soy-marinated eggs, such as Ajitama or Nitamago, can be stored in the refrigerator for 2-3 days. Allow the eggs are cool completely before you refrigerate them and keep them sealed in an airtight container or bag. It's important to note that the exact shelf life can vary depending on factors like the freshness of the eggs and the specific ingredients used in the marinade.


Leave a Reply